-
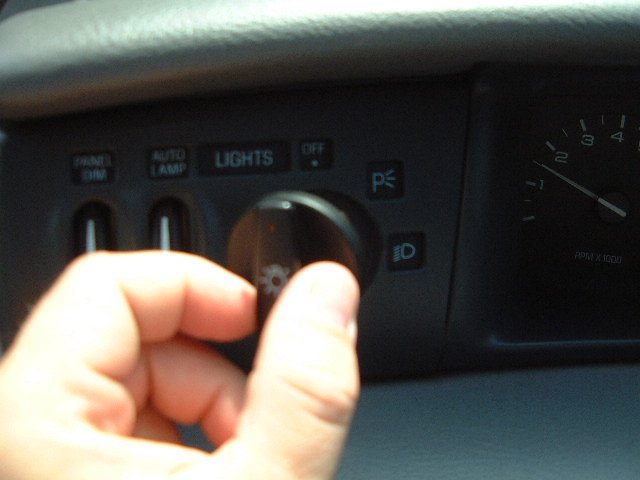
Start by
removing the headlight knob.

-
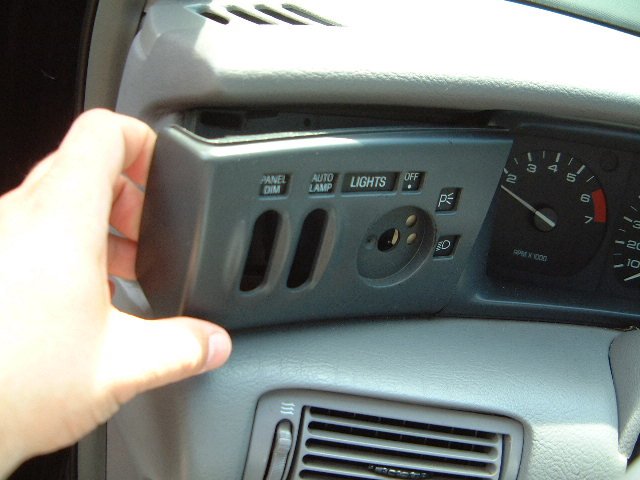
Then remove
the headlight control surround by prying (with your
fingers) gently from the far left side of the panel,
but be VERY, VERY careful when removing this panel,
there is a light that attached to the back of the
panel...remove the light by twisting it and pulling
it out.

-
Now remove
the two 9/32" bolts that hold the cluster surround
to the dash, and the two 9/32" bolts that hold the
headlight switch in place.
-
Now remove
the 2 phillips head screws that are just above the
gauge cluster that hold the cluster surround to the
dash.
-
Pull the far
left side of the cluster surround and unplug the
dimmer/auto lamp switch.
-
Gently and
easily pry the cluster surround away from the dash
board.....be careful not to pry the wrong way or you
may break your surround1.
-
Now remove
the four 9/32" (this is where the extension comes
into play) bolts (be careful not to lose them when
removing) that secure the gauge cluster to the dash
board.
-
Pull the
gauges towards you starting at the top....lay the
gauges face down and remove the cable behind the
gauge cluster by squeezing the 2 tabs together.
-
Now pull the
gauges out of the car, but before total removal
unclip the wiring harness you removed in the last
step from the back of the gauge cluster.
-
Now remove
the 5/16" bolts that hold the clear plastic to the
gauges.
-
After the
clear plastic has been removed, gently pry the
gauges from their respective slots. They are held in
place by metal tabs for the electrical
connections....just be careful not to break any of
them.
-
This would be
a good time to either take a picture of where your
needles are on your gauge assembly, or draw a
picture so that you can refer to this when you put
your gauges back together so that your needles are
not off of their mark.
-
Using a fork
(cheapest and easiest thing to use.....with out
breaking anything) gently...without moving the
needles from their resting spot...pry back with the
fork using the bottom of the fork for leverage and
remove the needles.
-
Now peel back
the original gauge paper (not sure what to call it)
remove the gauge faces.
Now just perform
these steps in reverse order....you may need more glue
to hold the gauges into place....but I have not run into
that problem as of yet.
If you have any questions/comments please feel free to
e-mail me at the link provided below.
1 - You can gingerly pop out
the vents on the cluster surround with a small headed
flat blade screw driver. Make sure to wrap the head of
the screw driver with Electrical tape so it doesn't
damage the surfaces that it will make contact with.
After the Vents are removed you can then EASILY reach
into the void and "pop" the trim out.
Submitted by:
Author: Ray Urso (drgnfrm)
wykdmk8@hotmail.com


![]()


